Learning how to create a twitter post image helps you ship timeline updates that look intentional before anyone reads the full post. A Twitter or X graphic is not a blog thumbnail or a full slide deck. It should give the post one clear visual hook.
This guide covers format choice, layout, copy, contrast, export, and a practical FeatureImg workflow. It does not walk through platform buttons or composer UI, which change over time. You build the asset in FeatureImg, export a file, then attach it when you post.
Start with the right format
Timeline images work best on a wide canvas. FeatureImg’s X Post format uses 1600 × 900 pixels (16:9).
Open the X Post editor preset early so you never design on a square or tall canvas and crop later. Confirm dimensions in the Twitter post image size guide before you pick colors or type.
Choose one message
Decide what the image must communicate in one glance:
- A launch headline
- A single metric or result
- A framework or lesson name
- A blog or podcast promo title
- An announcement date and topic
If you need three bullets and a paragraph, keep that copy in the post. The graphic should carry one promise.
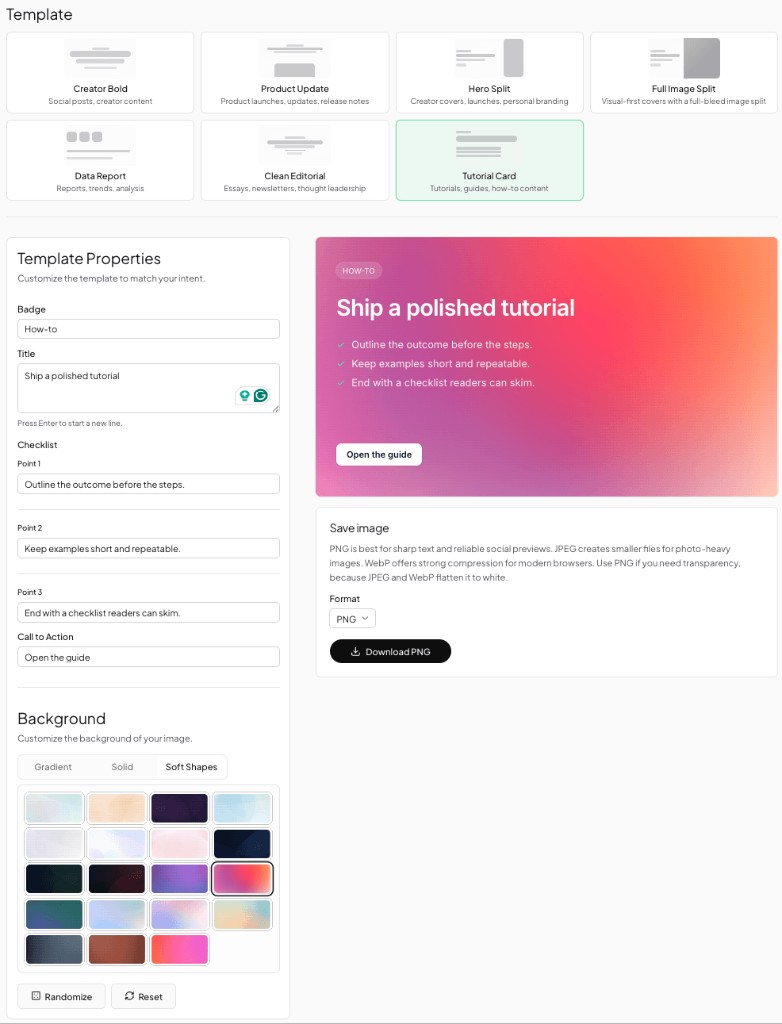
Pick a layout
Match the template to the update type:
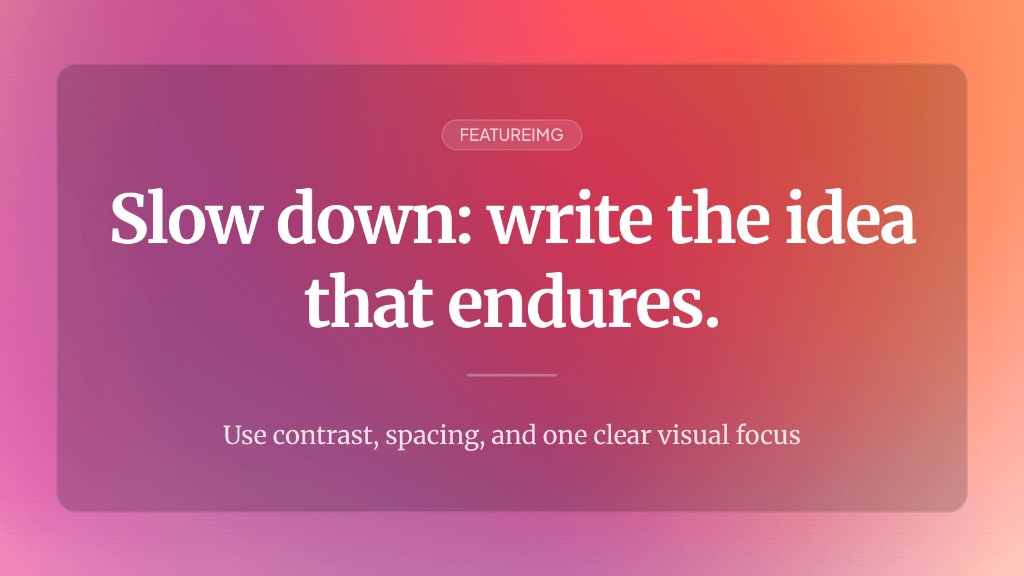
- Clean editorial for statements, lessons, and POV posts
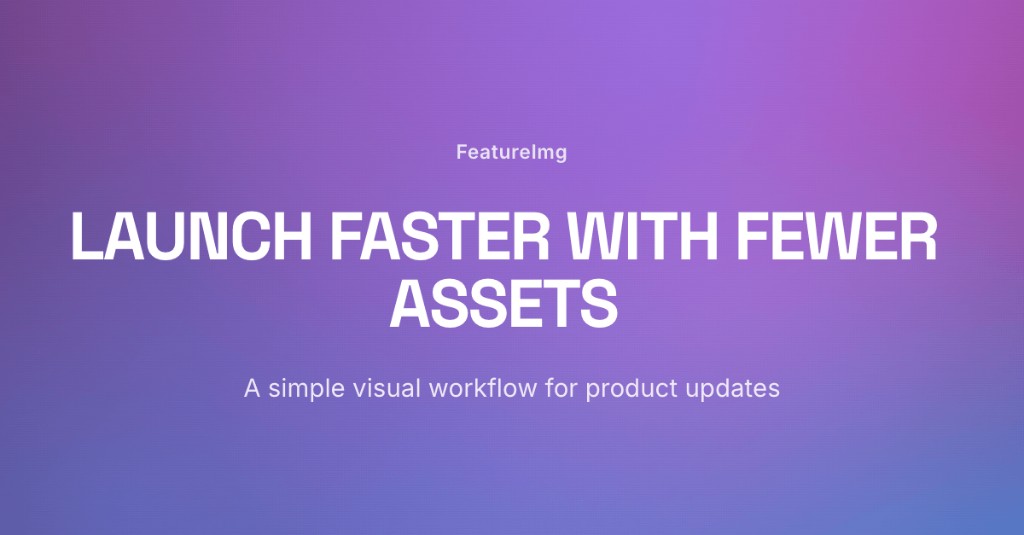
- Product update for launches, releases, and changelog-style news
- Full image split when a screenshot or product shot should share the frame with a headline
- Data report when one or two metrics should lead the visual
Templates set type hierarchy and spacing. You edit text fields instead of placing every element from scratch.
Write a short headline
Use the main title field for the line you want readers to remember. Shorter beats clever when the image is small.
Aim for about five to eight words. Avoid full sentences that wrap into tiny type at feed size. Lead with the outcome or topic, not internal codenames your audience will not recognize.
Use a subtitle only when it adds context
A subtitle helps when you need:
- A role or audience line (“For indie founders”)
- A date or event cue (“Live space, June 12”)
- One supporting detail that does not fit the headline
Skip the subtitle if it repeats the title or adds a third line of small type. Two lines of text on a timeline image is often the practical limit.
Use contrast and spacing
Prefer backgrounds that keep type readable:
- Solid colors
- Simple gradients
- Shape presets from the editor background panel
Check the preview at a smaller zoom level. If the headline fades, increase contrast or simplify the backdrop before you export. Leave margin around the edges so nothing critical gets cropped in the client.
Use screenshots carefully
Product UI shots work when the interface is the story. Crop to the relevant panel, avoid tiny labels, and keep the headline on a clear area rather than on top of busy chrome.
If the template supports a product image slot, upload a focused capture. Otherwise, use a split layout or a calm background with a short headline. A screenshot without a headline often looks like an accidental attachment.
Export and post
Export at the preset size from FeatureImg. PNG is a safe default. JPEG or WebP can work when file size matters and your export quality settings are acceptable.
FeatureImg does not publish directly to Twitter or X. Save the file, then attach it when you compose your update in the platform you already use.
A practical FeatureImg workflow
- Review sizes in the Twitter post image size guide.
- Open the X Post format page for template picks and FAQs.
- Launch the editor with the X Post preset.
- Choose a template that matches your message (editorial, product update, data, or split layout).
- Enter the headline and optional subtitle.
- Pick a background that preserves contrast, or upload a visual when the layout supports it.
- Add a product or hero image only when the visual earns its space.
- Export PNG, JPEG, or WebP at 1600 × 900 px.
- Attach the file when you compose your Twitter or X post.
The workflow stays in the browser: pick format, customize, download. No separate resize step if you start from the correct preset.
For visual direction by post type, browse Twitter post image ideas.
Common mistakes to avoid
- Designing on the wrong aspect ratio and cropping critical text later
- Treating the image like a full article instead of a single headline
- Low-contrast type that disappears on mobile timelines
- Expecting FeatureImg to post to Twitter or X automatically (export and attach manually)
Create your Twitter post image
A clear message, the right canvas, and strong contrast beat decorative complexity. When you are ready to build the file, use the X Post format page or open the X Post editor preset to start from a template and export.