
When someone shares your URL, the preview image is often the first visual signal they see. Learning how to create an open graph image helps a blog post, landing page, product launch, or announcement look intentional in feeds and chat apps, not like a link with a random crop.
This guide covers when you need one, recommended size, what to include, and a repeatable workflow for open graph image link preview cards. For dimensions and safe areas, see the Open Graph image size guide. For layout inspiration, see Open Graph image examples.
When do you need an Open Graph image?
You should create an Open Graph image when:
- You publish a blog post or article
- You share a landing page on LinkedIn, X, Facebook, or chat apps
- You launch a product, feature, or report
- You want link previews to look intentional and consistent
- You care about click-through from social shares
Not every page needs a custom image. Low-traffic utility pages can often rely on a site default. Important pages (posts, launches, guides, and announcements) usually benefit from a dedicated social preview image.
What is an Open Graph image?
An Open Graph image (often called an OG image) is the preview image platforms attach when a URL is shared. It usually comes from the og:image meta tag and appears next to the page title and description in a link preview card.
The image does not replace the page. It summarizes the topic in one frame so scanners understand what they are opening. You will see OG images on blog posts, landing pages, product pages, documentation, and newsletters.
Recommended Open Graph image size
For most Open Graph images, a 1200 × 630 px canvas is a safe starting point. That matches Meta’s high-resolution recommendation and LinkedIn’s recommended 1.91:1 preview ratio. Confirm dimensions, safe margins, and platform notes in the Open Graph image size guide before you finalize the layout.
What should an Open Graph image include?
A strong social preview image usually has:
- A clear page title or headline
- A short supporting line (optional but useful)
- Strong contrast between type and background
- A simple layout with enough empty space
- A visual style that matches the page topic
- Brand or site name when it helps recognition
Avoid:
- Too much text or long paragraphs on the frame
- Small details that disappear when compressed
- Generic stock imagery with no connection to the page
- A headline that does not match what the page delivers
How to create an Open Graph image for a blog post
For blog posts, the image should usually focus on the article title rather than decoration. A good blog open graph image makes the topic clear before someone reads the page title or description.
Use the article headline, a short subtitle if needed, and a simple background that does not compete with the text. If the title is long, shorten it for the image while keeping the meaning intact.
Layout directions that work well for posts:
- Clean editorial for essays and explainers
- Product update for launches and changelog posts
- Full image split when you want a photo area plus a headline panel
Step 1: Start with the page title
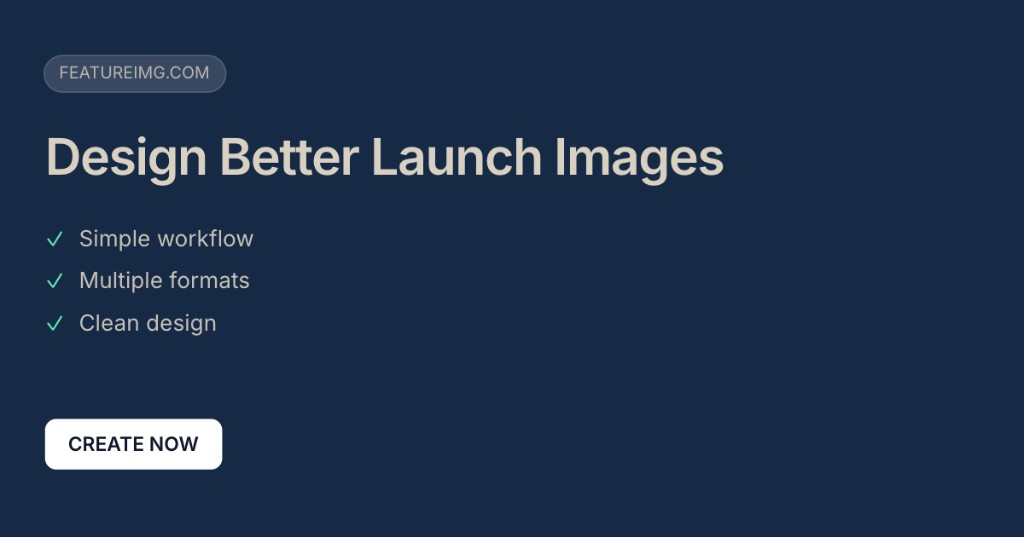
The title should usually be the strongest element in the image. When you create an Open Graph image, start with the article title or a shortened version that still states the topic.
Guidance:
- Keep it readable at small size
- Make the subject obvious without surrounding context
- Avoid pasting the full CMS headline if it is long
Instead of: “Everything We Learned About Remote Team Communication in 2026”
Use: “Remote Team Communication Guide”
Step 2: Add a short subtitle or context line
A subtitle is optional but useful when the title alone is too broad.
Good subtitle examples:
- “A practical guide for product teams”
- “Design tips for better link previews”
- “A quick checklist for creators”
One line is enough. Put longer context in the page body or meta description, not on the image.
Step 3: Choose a layout that matches the content type
Match the layout to what you are promoting:
| Content type | Layout direction |
|---|---|
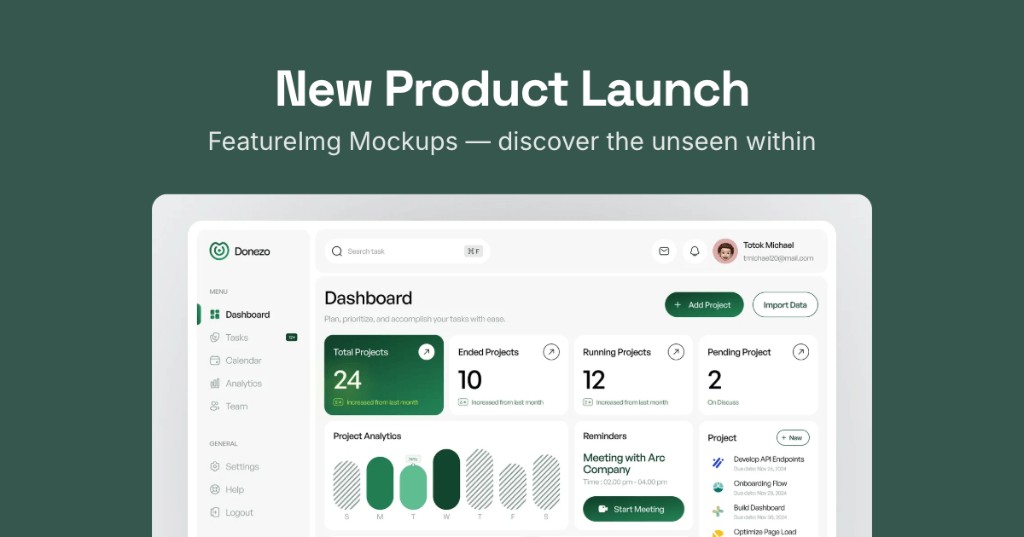
| Blog post | Headline + subtitle + simple background |
| Product launch | Product name + value line |
| Tutorial | How-to title + outcome |
| Comparison page | X vs Y structure (names only, not a full table) |
| Newsletter | Editorial title + issue or category |
For more patterns by page type, browse the Open Graph image examples guide.
Step 4: Keep contrast and readability at thumbnail size
Link preview image cards are smaller than most designers expect. Design for thumbnail scale first.
Tips:
- Use large type and strong contrast
- Keep the main message centered or clearly anchored
- Do not rely on tiny logos as the primary content
- Leave margin away from the edges (platforms may crop)
- Zoom out in the editor before export
Solid colors, simple gradients, and soft shape presets usually remain easier to read at preview size than busy photos behind small type. If you use a photo, place text on a panel or overlay so it stays legible after platform compression.
Step 5: Export and add the image to your page metadata
Export PNG or JPEG at 1200 × 630 px from your editor for the widest link-preview compatibility. Meta’s webmaster docs list image/jpeg, image/gif, and image/png for og:image:type; WebP may work in some clients, but test the live preview before relying on it. Upload the file to your host or CDN, then point your page’s Open Graph metadata at the final URL.
In HTML, that is typically:
<meta property="og:image" content="https://example.com/og-image.png" />
<meta property="og:image:width" content="1200" />
<meta property="og:image:height" content="630" />
<meta property="og:image:alt" content="Remote team communication guide preview" />
<meta property="og:image:type" content="image/png" />
<meta name="twitter:card" content="summary_large_image" />
<meta name="twitter:image" content="https://example.com/og-image.png" />
Most CMS and site builders expose the same setting as a “social image” or “OG image” field without editing markup directly. After publish, share a test link in a private chat, Meta’s Sharing Debugger, or LinkedIn Post Inspector to confirm the card looks right. Caches can lag.
A practical FeatureImg workflow
Here is a simple workflow you can repeat for most pages:
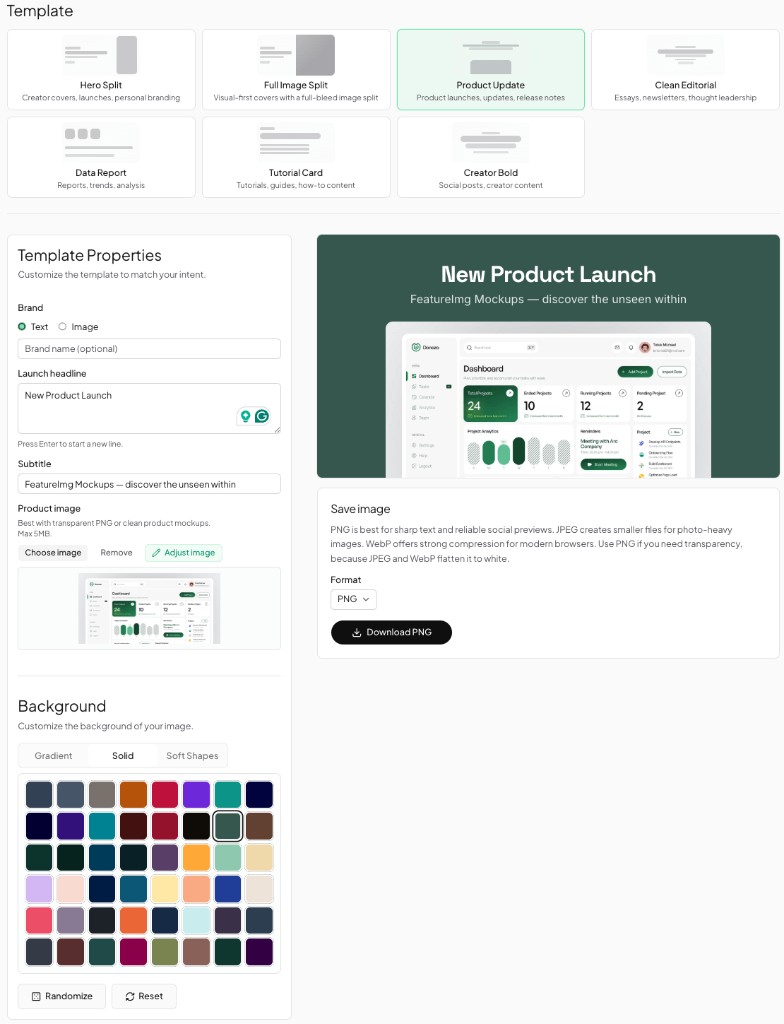
- Open the Open Graph image format in FeatureImg
- Choose a template that matches the page type
- Add the page title and a short supporting line
- Pick a background with enough contrast
- Export PNG or JPEG and add the file to your page metadata
- Test the link preview before sharing
You stay in the browser. The format handles dimensions; you focus on message and contrast.
Common mistakes to avoid
- Using the full article title when it is too long for a preview frame
- Skipping a dedicated OG asset and letting the CMS pick a random in-article image
- Adding too many badges, logos, or visual elements
- Weak contrast between type and background
- Wrong aspect ratio that forces automatic cropping
- Forgetting how the image looks on mobile at small size
- Reusing the same generic image on every page
- Creating an image that does not match the page topic
- Forgetting to update the OG image after changing the page title
Open Graph image checklist
Before you ship:
- Is the main title readable at thumbnail size?
- Is the topic clear without opening the page?
- Is the contrast strong enough?
- Is the design uncluttered?
- Does the image match the page content?
- Does the export use the correct format and size?
- Is the file uploaded and referenced in page metadata?
FAQ
Do I need an Open Graph image for every page?
Not every page needs a custom image. Important pages (blog posts, landing pages, product launches, guides, and announcements) usually benefit from one.
What is the difference between an Open Graph image and a featured image?
A featured image is usually shown inside your site or CMS (article header, listing card). An Open Graph image is used for link preview image cards when the URL is shared elsewhere. The same file can work for both when dimensions and crops align, but they serve different contexts.
Can I create an Open Graph image without design software?
Yes. You can create Open Graph image files with an online template tool like FeatureImg: pick the OG format, edit a layout, and export from the browser.
What should I put on an Open Graph image?
Use a clear title, optional subtitle, strong contrast, and a simple layout that reflects the page content. Skip paragraphs, URLs, and dense UI screenshots.
How do I make an Open Graph image look better?
Use fewer words, larger type, stronger contrast, and a layout that stays readable when the preview is small. Preview at reduced size before export.
Create your next Open Graph image
Ready to make one? Start from the Open Graph image format, pick a template sized for link previews, and export a clean 1200 × 630 image.